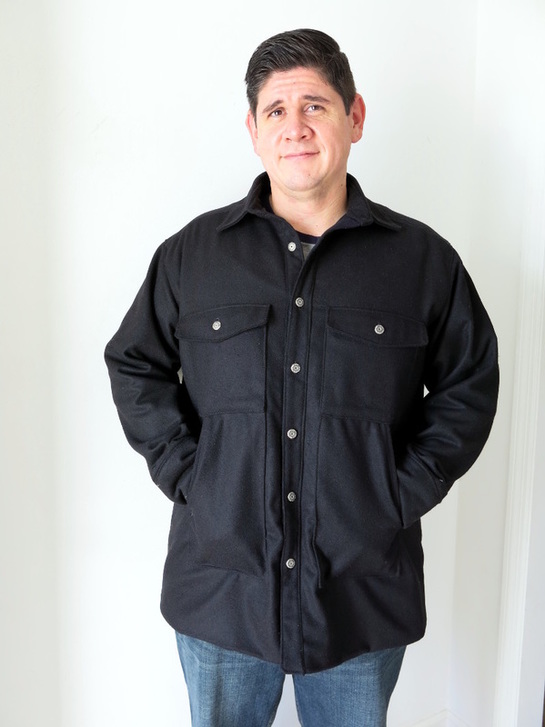
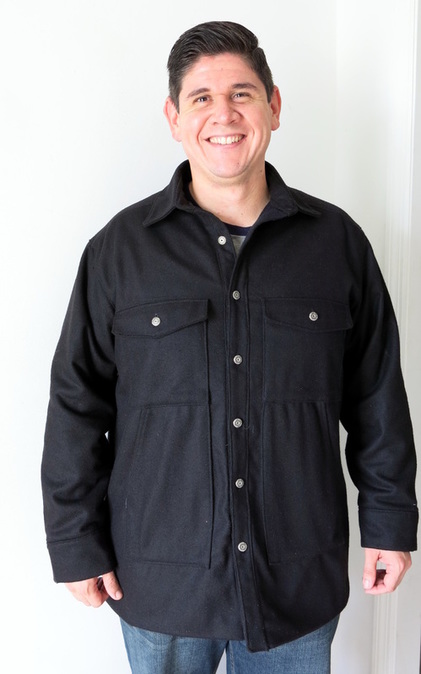
Over the years I've limited myself to making Christmas presents only for the closest people in my life. Less stress and it seems more meaningful to give a handmade present to someone whom I know will appreciate it. My husband is going to spend quite a bit of time in the next few months in a cold climate, and since he doesn't have a proper wool jacket I figured it was high time I make him one.
I've never sewn with wool before, so this project was an adventure for me. I did a bit of reading about sewing with wool, and the big tips were: use a press cloth, and use lots of steam.
Fabric: black Italian wool blend from Mood Fabrics, and black cotton flannel from my stash.
Pattern: Simplicity 1328 view A with some modifications.
Modifications: The pattern is for an unlined jacket with a doubled yoke and buttoned shirt cuffs, and I wanted to add a lining for extra warmth.
- I eliminated the shirt cuff with placket (it would have been difficult to sew and too bulky), and instead made a plain circular cuff and re-drafted the sleeve pattern to make it narrower at the bottom.
- I eliminated the side vents.
- I find sewing in linings very confusing, so I did a lot of thinking about which method would be easiest. I sewed both outer and lining of jacket separately and stopped before adding the shirt placket and collar. I pressed up the 1-1/4" hem on the outer layer, then sewed the outer layer and lining together at the hem only with a seam allowance of 5/8". I re-pressed the hem again allowing the lining layer to bag down as it would on any other lined jacket. I then basted both layers together at the center fronts, neck, and cuff edges and treated them as one layer.
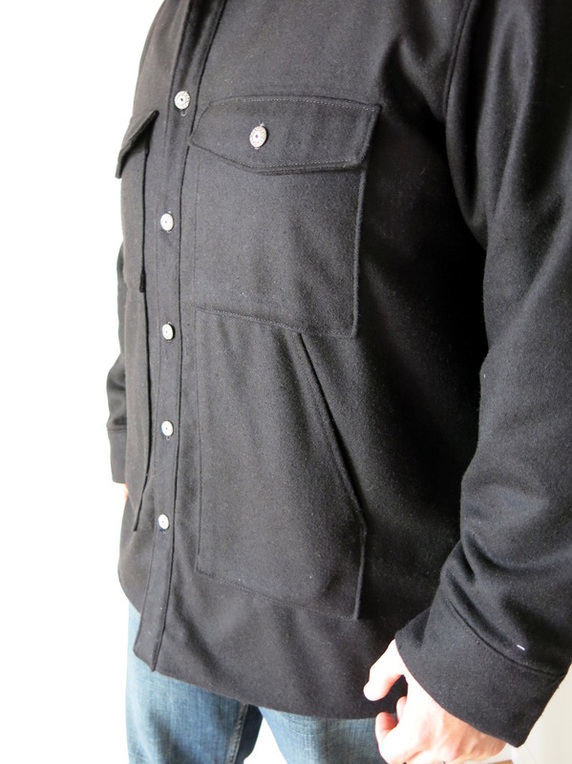
- I added more topstitching than called for in the pattern, as I think it makes the jacket look more professional.
- I also added bar tacks at the bottom of the pocket openings for extra strength, because of course the first thing my husband did was shove his hands into the pockets, and I envision him shoving his cell phone, keys and wallet into the pockets as well.
Project Notes:
- Always make a muslin. It doesn't have to be the entire thing, just make sure the body has a good fit. My husband has a massive rib cage and shoulders, so I made a very silly looking muslin of just the body out of some obnoxious quilting fabric just to make sure it wouldn't be tight in the chest.
- It's easier to spray the press cloth with water and to constantly refill the iron with water.
- Hand basting is more accurate than pinning, and while it takes just a bit longer it saved me lots of frustrated and ripping out seams. I hand basted the pockets to the body, and the turned under edge of the collar. I cheated a bit and used quite large stitches (1/2 - 3/4"), but it was still much better than pinning.
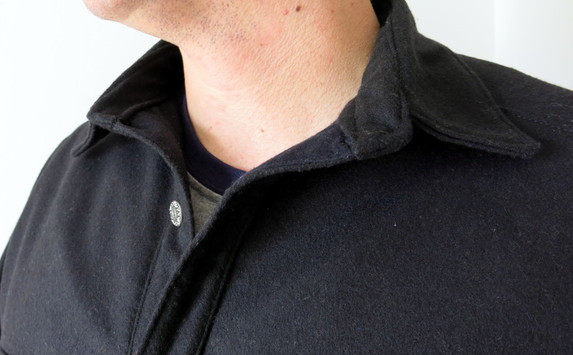
- When ironing very thick seams (mostly in the layers of the collar), use a clapper (or in my case, the bottom of a point presser) to press down hard and compact all those layers of fabric.
It would have been nice if this project had been a complete surprise to my husband, but realistically it was much better for him to try on the muslin and the body of the jacket as it was in progress. It wouldn't have been a good surprise if it didn't fit!



 RSS Feed
