
aka, Help I'm running out of yarn for the sleeves!
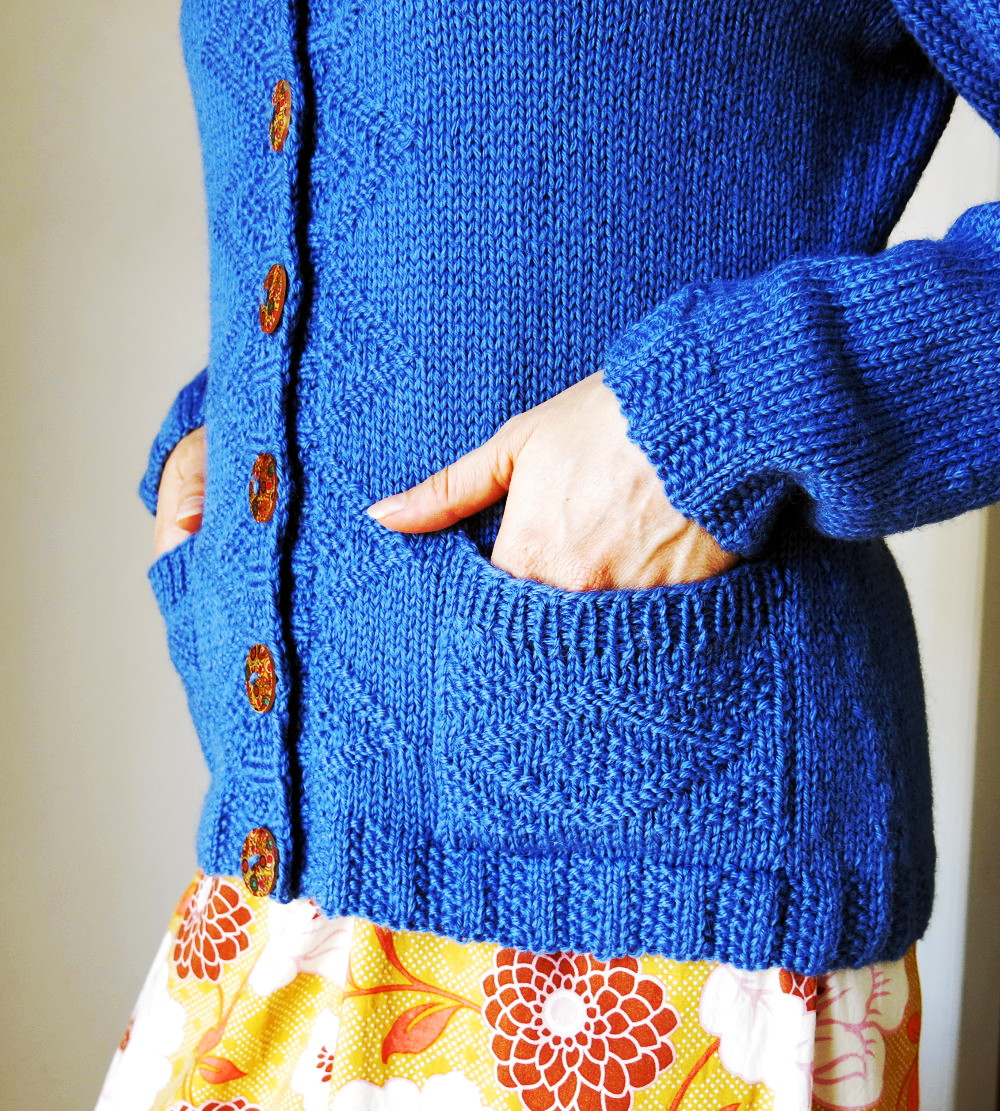
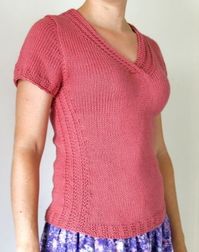
After moving into my new house and unpacking my yarn, I decided it was time to do some stash-diving for my next project. I found four skeins (plus a tiny partial ball) of Elsebeth Lavold Silky Wool in a nice heathered grey. Since I quickly discovered just how darn hot and humid it gets here in Central Texas, I knew this lightweight yarn would be perfect.
But just how far would I get with this small amount, a mere 800 yards? I did a bit of searching on Ravelry, and found that I could probably get a nice cropped cardigan with 3/4 sleeves. So I planned my design and got to work. Knowing that I would be using up every last bit of yarn, I made some specific design choices and plans.
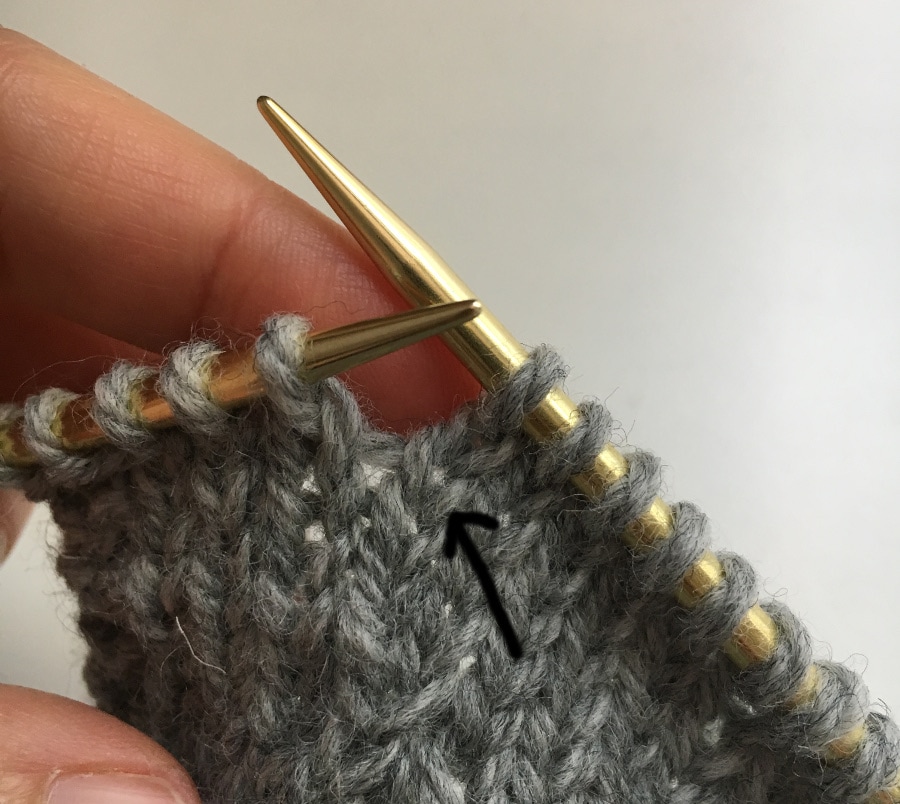
1. Work the body, then the pockets, then the neckband and leave the sleeves for last.
2. Work the sleeves top down in short rows so the length can be easily adjusted to how much yarn I have left.
3. Before working the sleeves, weigh the remaining yarn to determine how much I can use for each sleeve.
And here is where one of my favorite tools comes in: the humble postage scale.
But just how far would I get with this small amount, a mere 800 yards? I did a bit of searching on Ravelry, and found that I could probably get a nice cropped cardigan with 3/4 sleeves. So I planned my design and got to work. Knowing that I would be using up every last bit of yarn, I made some specific design choices and plans.
1. Work the body, then the pockets, then the neckband and leave the sleeves for last.
2. Work the sleeves top down in short rows so the length can be easily adjusted to how much yarn I have left.
3. Before working the sleeves, weigh the remaining yarn to determine how much I can use for each sleeve.
And here is where one of my favorite tools comes in: the humble postage scale.

The scale has options for ounces, kilograms or grams. I choose to use grams, since I think the small increments are the most accurate.
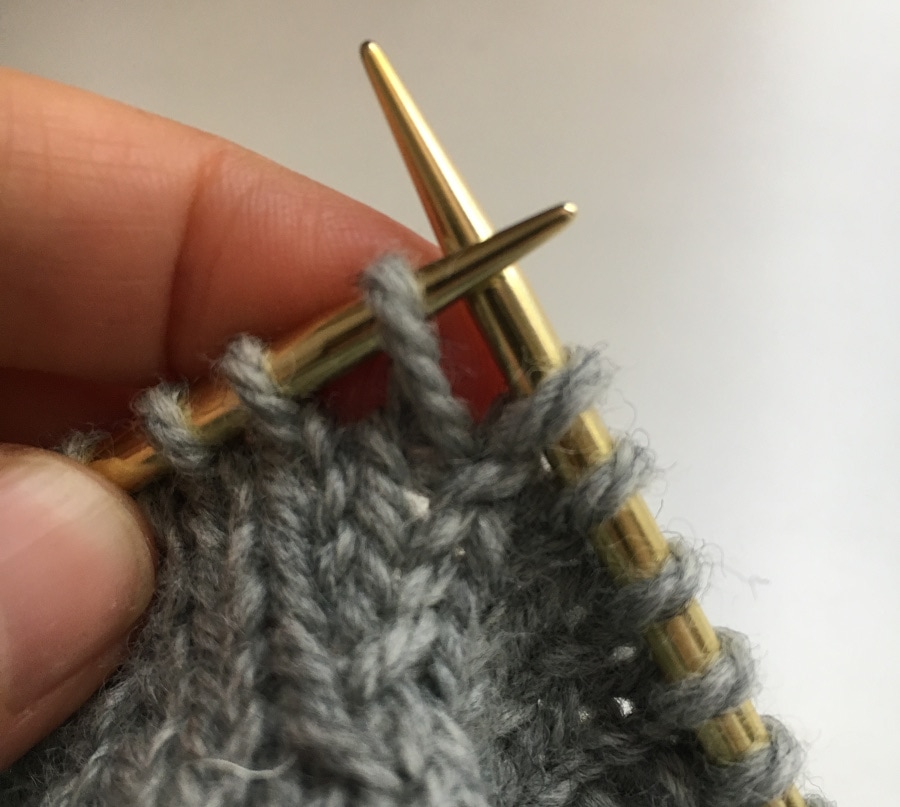
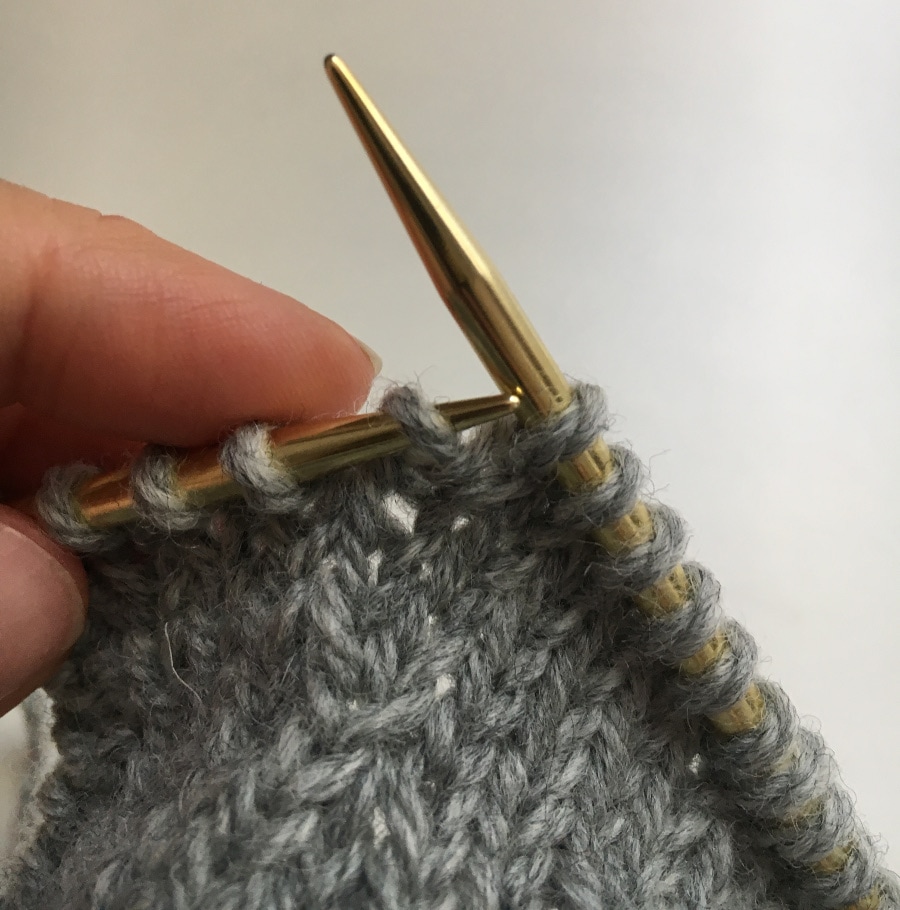
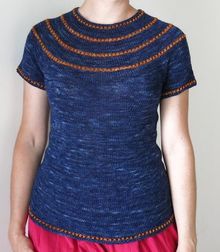
After knitting everything but the sleeves, I had one full skein and a partial ball remaining. In total, 72 grams. So, I could use up to 36 grams of yarn per sleeve. I calculated the sleeve decreases as if I would be working a full length sleeve, but figured I probably wouldn't get that far. As I got close to elbow length, I started weighing my yarn. 46 grams. I wanted to work the cable motif plus some rib, so I worked a couple more rounds then weighted the yarn again. 45 grams. I ddetermined I would need about 8 grams for the remaining section of sleeve, so I started to work the cables. After binding off I weighed the yarn and had 37 grams remaining. Not bad, eh? I'm working the sleeve cap of the second sleeve now. Wish me luck!
So you might be wondering, what are some other uses for the postage scale?
Do you use a postage scale for your knitting projects? What are your favorite non-traditional knitting tools?
After knitting everything but the sleeves, I had one full skein and a partial ball remaining. In total, 72 grams. So, I could use up to 36 grams of yarn per sleeve. I calculated the sleeve decreases as if I would be working a full length sleeve, but figured I probably wouldn't get that far. As I got close to elbow length, I started weighing my yarn. 46 grams. I wanted to work the cable motif plus some rib, so I worked a couple more rounds then weighted the yarn again. 45 grams. I ddetermined I would need about 8 grams for the remaining section of sleeve, so I started to work the cables. After binding off I weighed the yarn and had 37 grams remaining. Not bad, eh? I'm working the sleeve cap of the second sleeve now. Wish me luck!
So you might be wondering, what are some other uses for the postage scale?
- Determining if I have enough yarn in a partial ball (or multiple colors) for a new project. I love designing colorful stashbuster projects (like my Irisa Cardigan and Raissa Cowl), and I weigh all my yarn before beginning to make sure I have enough yardage to complete the project. Gradients don't work out well when you run out partway through! This is also useful if you decide to work stripes in a pattern designed for one color.
- Determining exactly much yarn I used in a pattern sample. After weighing the sample, I then calculate the area of the sweater (which I discuss in more length in this blog post) in square inches. Using these two pieces of information, I am able to determine the yardage needed for each size using proportions.
- When I spin yarn, I weigh my fiber beforehand and divide it in half. I keep half in a ziplock and pre-draft the other half. Since I tend to spin in smaller amounts (usually not more than 4 ounces at a time), I spin each half onto a separate bobbin and ply together. It never ends up perfectly even, but much better than my guessing partway through.
Do you use a postage scale for your knitting projects? What are your favorite non-traditional knitting tools?


 RSS Feed
