|
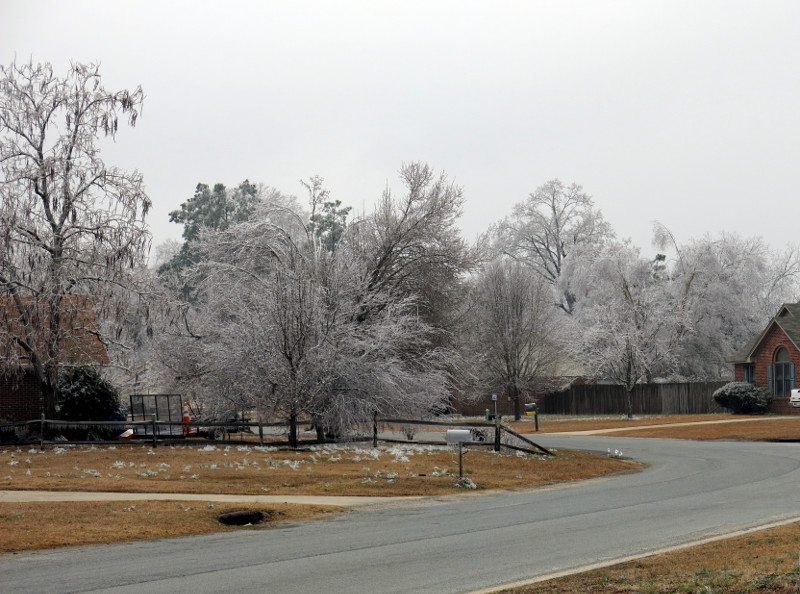
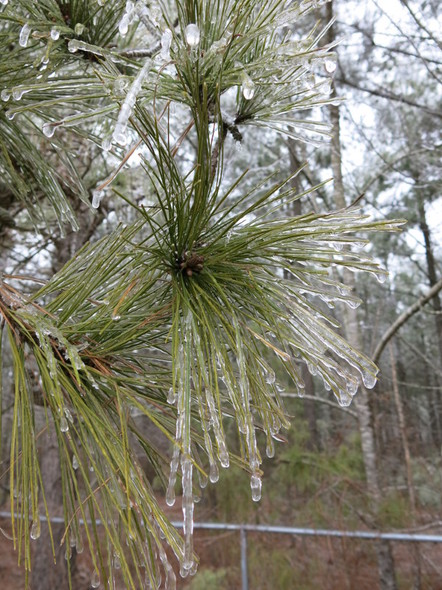
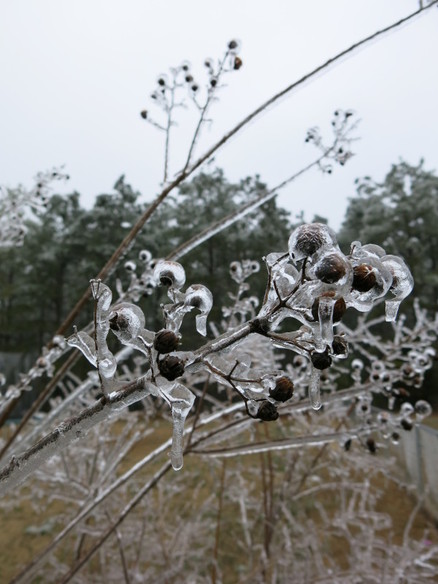
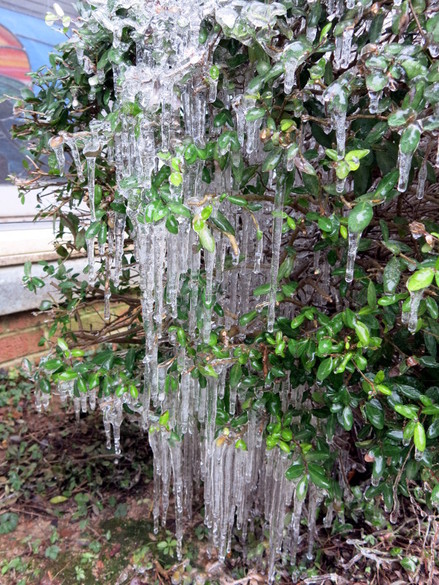
I grew up in a hot desert, so snow is still a relatively new experience for me. I now live in a hot (and humid) climate, but every year we seem to get at least a dusting of snow. The snow was very light yesterday and has already mostly melted, but the ice still remains on all the plants. My world is encased in ice.
0 Comments
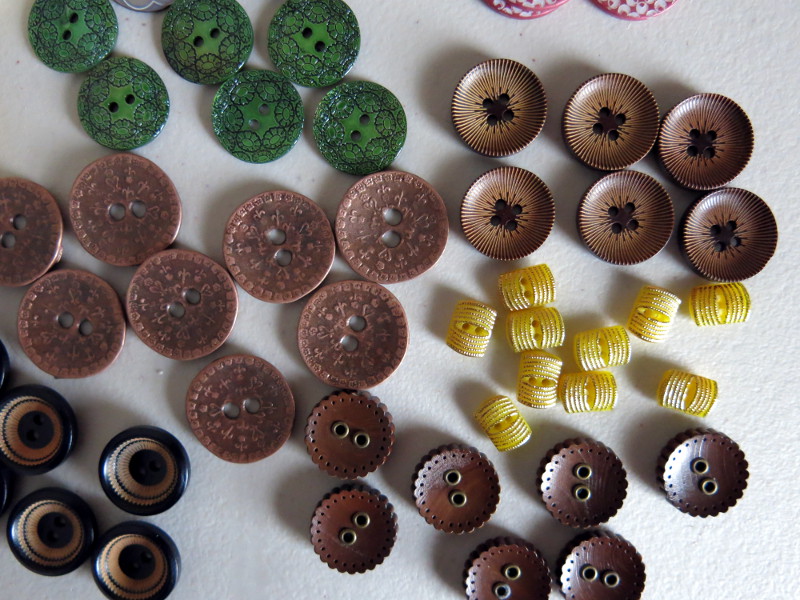
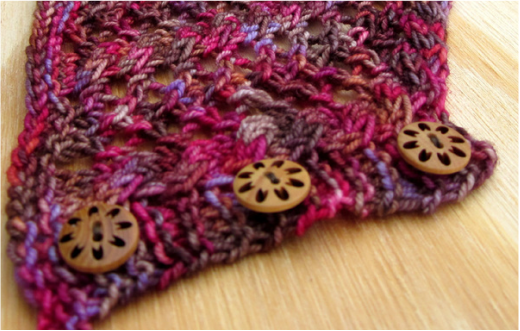
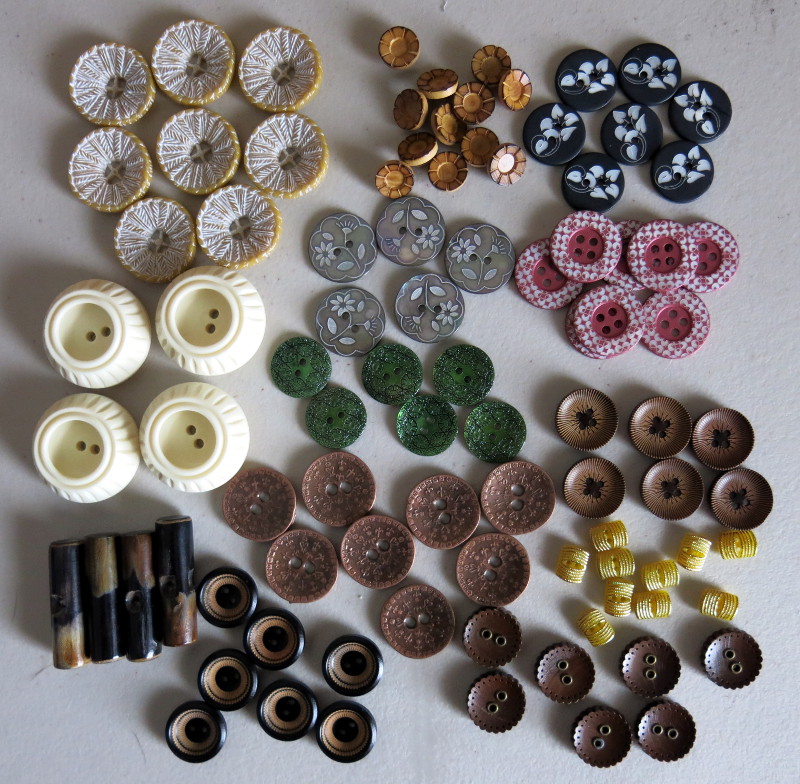
It happens with almost every cardigan I knit. I'm close to the finish line, all I have left to knit is the button bands, so I rush off to the nearest craft store to buy buttons. And... I'm sorely disappointed with what I see. Mostly cheap and cheesy-looking buttons in colors that don't even come close to matching my yarn. Drat. I'm not a huge fan of plastic buttons (unless they are a vintage style), so I try to find something appealing in wood or metal. Most of the time I just pick the best of what I can find, but it is never really what I want. So much time wasted standing in front of the wall of buttons with a disgruntled look on my face. A couple weeks ago, I decided it was time to expand my pretty button stash and order buttons online. I've purchased buttons from Textile Garden before, and absolutely loved them. Wood, metal, bone, shell... the list goes on, and not much plastic is to be found. These pretty little wood buttons came from my first purchase with Textile Garden. Aren't they sweet? I'm quite happy with my new stash. The ivory buttons aren't quite what I expected, they are shaped like a bowl and about 1/2" thick. I'm thinking I will have to pair them with an aran or bulky weight cardigan next winter.
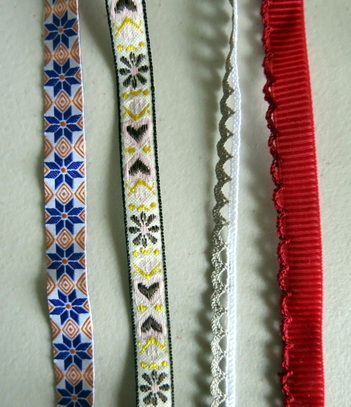
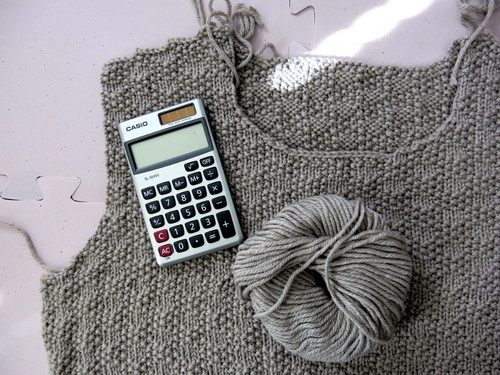
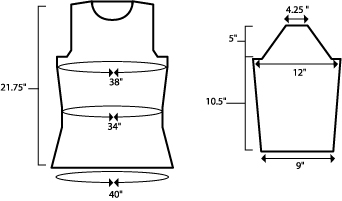
Textile Garden also carries shawl pins (I own a beautiful silver one!), lace and ribbons. After creating too many button bands that gape open, I'm starting to reinforce the backs of the bands with ribbon to prevent the unsightly rippling. Along with the buttons I ordered two grosgrain ribbons, a red corduroy ribbon, and a delicate lace. Trim heaven! Gah! That moment of sheer terror when you realize... I'm going to run out of yarn. I had that moment yesterday with a new sweater design I've been working on. I started off with a big pile of Knit Picks Gloss DK and watched the body suck up yarn like a vacuum cleaner. I had envisioned long sleeves with cuffs, but with only 4 balls left, I don't think it is possible. But how far will my remaining yarn go? Math to the rescue! Yay! I'm one of those strange people that always loved math as a kid. I think I was the only student excited to go to calculus class. Back when I started designing, I had no idea how much math would be involved. Today we will be working with proportions. Need a quick refresher before we begin? I'm going to show you how to calculate the area of the body and sleeves of a sweater, then create a propportion (or 'ratio') of the yarn used for the body to figure out how much yarn I will need to complete the sleeves. You'll need a schematic, a calculator, and an accurate measurement of how much yarn you've used for the body (thank you Postage Scale!). Are you with me? Let's begin. The good old schematic, so useful throughout the whole knitting process. I'm going to begin by calculating the area of the body in square inches. My measurement will be an estimate and not completely precise. I could break down the body into rectangles and trapezoids, but I don't want to spend that much time on it. I usually do this in an Excel spreadsheet, but for now I'll write it out the old-fashioned way.
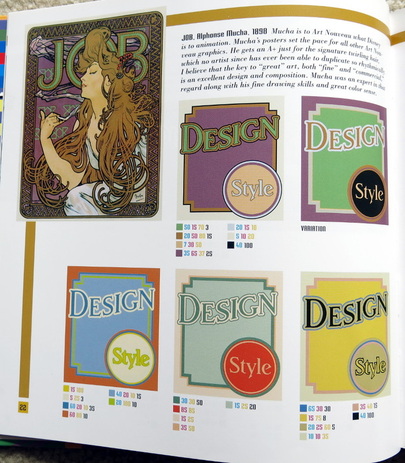
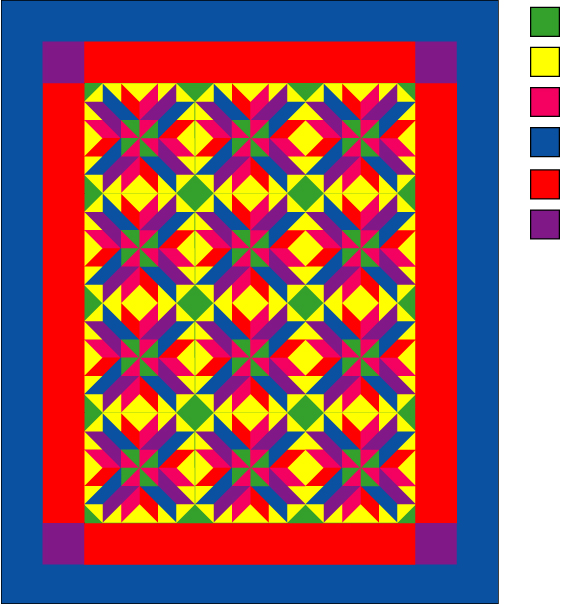
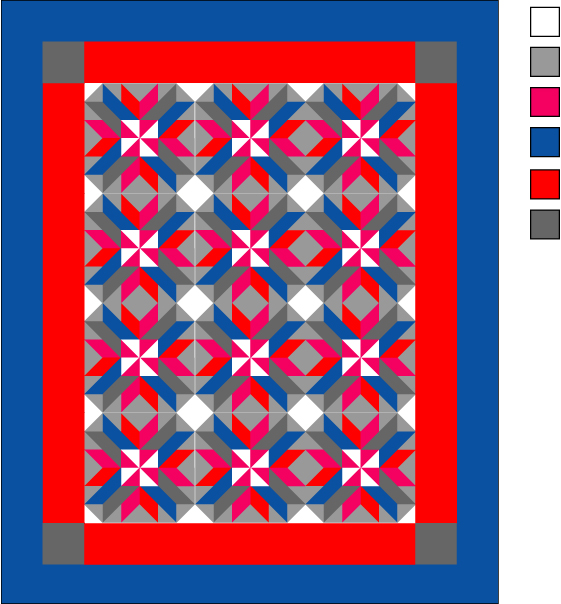
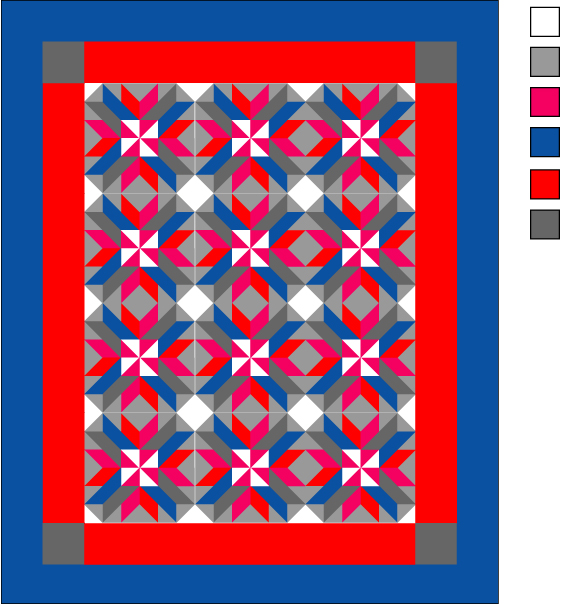
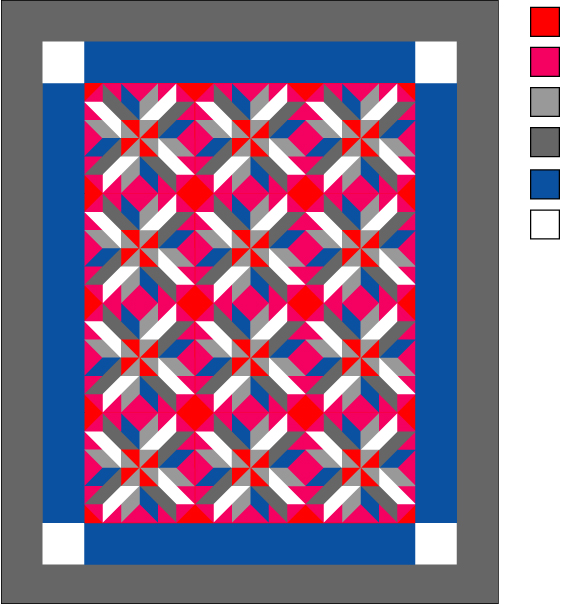
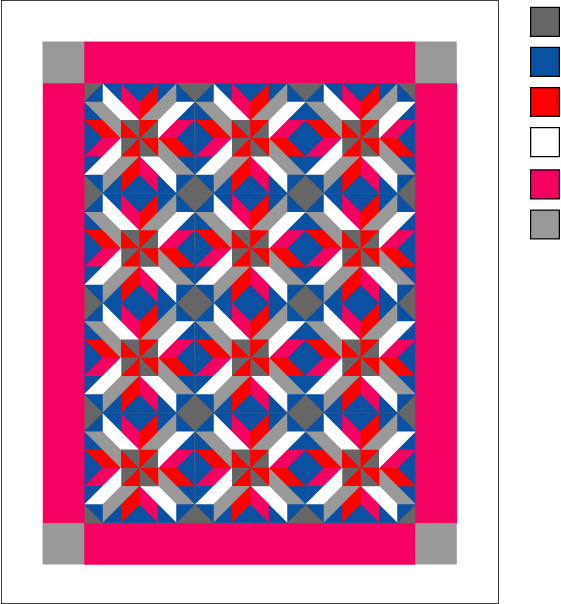
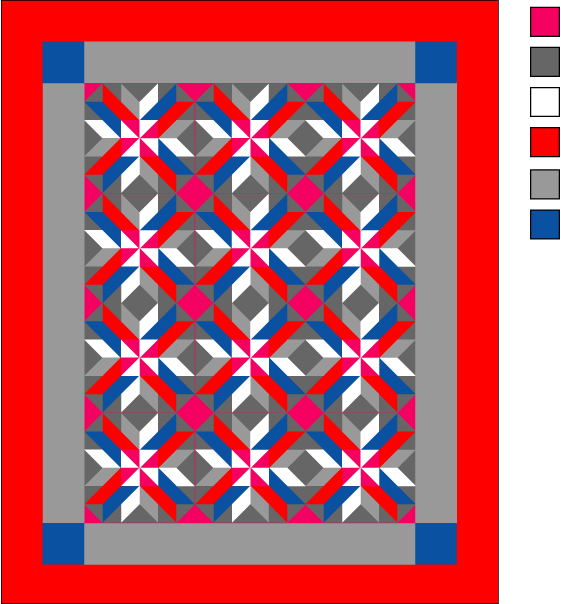
I could break the body down into several trapezoids and calculate the areas separately, but instead I'll take an average (or 'mean') of the three circumference measurements and calculate the area as one big rectangle. The basic formula for finding the area of a rectangle is: area= base x height. So, let's first make an average: 38+34+40= 112. There are 3 measurements, so divide the answer by 3: 112/3= 37.33 Now multiply that answer by the height, the body length. 37.33 x 21.75= 811.99 So, the body is approximately 811.99 square inches. I'll round it up to 812 for the proportion. Now let's calculate the area of the sleeve. For the sleeve I usually break it down into two trapezoids, the underarm down to the wrist, and the sleeve cap. The basic formula for find the area of a trapezoid is: area= (base1 + base2)/2 x height For the area of the underarm portion: (9+12)/2 x 10.5= 110.25 For the area of the sleeve cap: (12+4.25) x 5= 81.25 Add both together: 110.25+81.25= 191.5 So the area of one sleeve is 191.5 square inches. We will need two sleeves, so double that measurement to get 383 square inches. Great! We've got the areas calculated. Time for proportions! Now, to knit the body I've used 5 complete balls of yarn (250 grams) and a partial 6th ball. I weighed the partial ball on my postage scale to find that I've used 30 grams of yarn. So the total yarn used is 280 grams. 812 square inches (body) = 383 square inches (both sleeves) 280 grams of yarn ? ?= 383 x 280 / 812 ?= 132.06 grams of yarn So I will need 132 grams of yarn to complete my sleeves. There are 50 grams of yarn in each ball, so I will need 2.64 balls of yarn. I have 4 balls left in my stash, so it looks like it will work! Yay! I love creating color palettes, especially for my stash-busting designs. The comments I receive about them most often are, "How do you come up with the color combinations?" Well, friends, the answer is: Practice. It hasn't always been easy or come to me naturally. Back when I worked in the fashion industry, a big part of my job was to create textile prints and render them in several color palettes. I thought I was pretty good at it, until one day the designer I worked with came into my office and flung a pile of my textile prints onto my desk. "Your color palettes really suck. Try again." Then he turned around and walked out. Umm... ok? No advice or guidance, just an insult delivered in a condescending voice. By then I had developed the thick skin needed for working in fashion, but the comment still hurt. I decided it was time to study up on color combinations. Every class, book and magazine article I've read about color theory tells you to begin with the color wheel. I suppose that is helpful if you never got to see one in elementary school, but I'd like to go beyond the primary, secondary and tertiary colors. Let's look at some real examples. I turned to a book on the shelf my co-worker had bought. "The Designers Guide to Color Combinations" by Leslie Cabarga. It features advertisements from the early to mid 20th century rendered in various color palettes. Here is a sample page. This book was really helpful because it not only showed the color palettes, but the proportion of each color used. Proportion is just as important as the colors themselves. A mix of very bright colors equally distributed can be overwhelming, while small bits of the same colors on a neutral background can be spectacular. Below are two examples of digitally rendered quilt tops. The one on the left is a palette of all bright colors. Very overwhelming and distracting to the eye. The one on the right is the same quilt top with 3 of the color positions replaced with white, grey and charcoal. What do you think? I much prefer the one on the right; I think it has just enough pop. Now, let's take the same quilt top and the same colors but re-arrange them. Remember me mentioning proportion? Here are 3 examples plus the original: Pretty interesting, eh? The color placement in a design makes a huge impact.
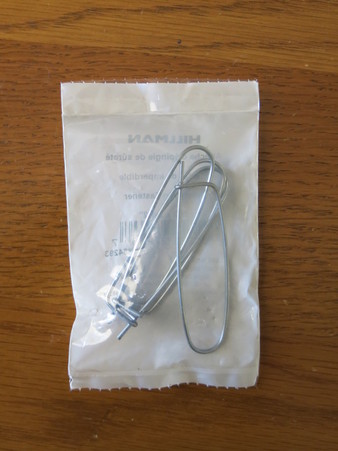
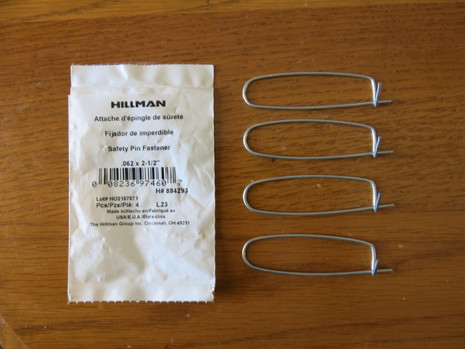
Next time I'll talk more about finding sources of inspiration for color palettes. Until next time, happy crafting! Yesterday I found myself in Lowes, holding up several 10-foot pieces of PVC pipe while my husband perused the wall of bolts and screws. Ever since I had read this blog post on finding sewing supplies at the hardware store, I've tried to keep an eye out for anything I could use for knitting. After a few minutes, my eyes settled on the bottom drawer in the wall of bolts. These looked surprisingly like stitch holders. In fact, they looked exactly like stitch holders. Hmm... Lowes has them labeled as "Safety Pin Fasteners". They are 2 1/2" long, so a bit smaller than a typical stitch holder, but you get 4 in a pack for a great price-- $.98. Yep, under a dollar. I inherited the two stitch holders that I use, but I think I've been them at Joann for several dollars apiece. I will admit that the ends of these are a bit rough, but nothing a little sandpaper couldn't fix.
I'm in the middle of fighting off the cold-flu-plague that is making so many people sick. Along with some over-the-counter medicine, I'm using several natural remedies to help with my symptoms. Homemade cough syrup, and a tomato soup, which was inspired by the tomato tea recipe from Earth Clinic. I love cooking from scratch, so you won't find any salty cans of soup in my house. But when you are sick, the last thing you want to do is spend an hour or two in the kitchen chopping vegetables. So, here is a tomato soup recipe that can be ready in a couple of minutes, and will be far healthier than any soup you get from a can. Ingredients:
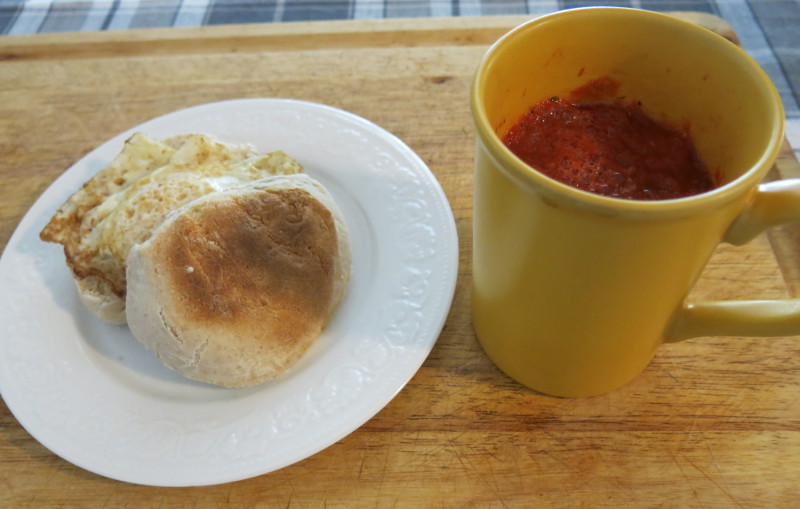
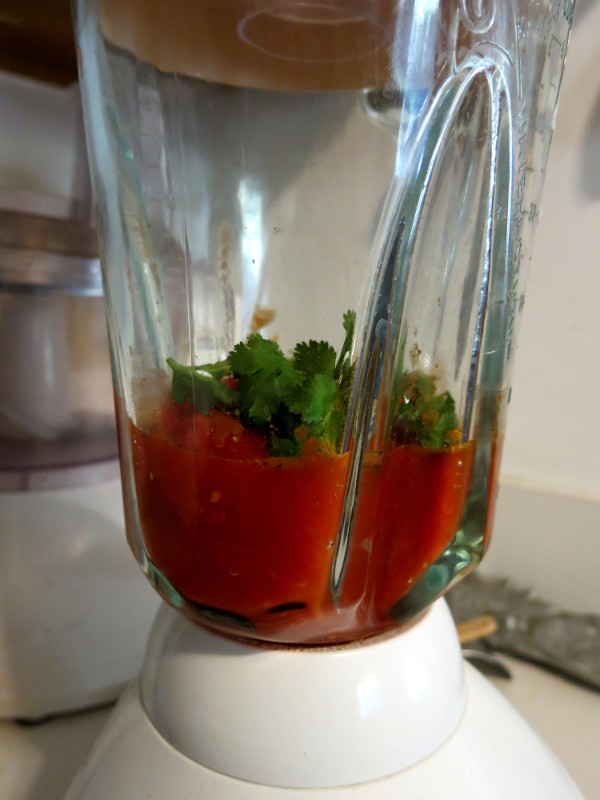
Combine all ingredients in a blender, and blend for 15-20 seconds. Add a few spoonfuls of water if you like your soup more liquidy. Pour into a coffee mug and heat on high for 1 minute, or until steaming. Makes two mugs of soup. Perfect served with a fried egg and a homemade sourdough English muffin!
Here is my very simple homemade cough syrup. I can't remember where I found the recipe originally, but I've been making this for the last couple of years and it works about as well as the over-the-counter cough syrups without all the chemicals and sugar. Combine in a small container equal parts:
Stir in a dash of cayenne pepper and a dash of cinnamon. Both spices create a warming sensation that helps sooth your throat. Put on the container's lid and shake vigorously, as you would with salad dressing. In fact, the taste of this cough syrup reminds me of salad dressing, and I can imagine it on top of garden-fresh greens and tomatoes. Much better than the mysterious drugstore 'red' flavor. |
AuthorCassie loves to knit, read and cook. She sometimes does all three at the same time. Categories
All
Archives
May 2017
|

|
|
- Blog
-
Patterns
- Hats >
-
Pullovers & Cardigans
>
- Noemy Pullover
- Yvaine Cardigan
- Daiva Cardigan
- Trail Henley
- Salisa Cardigan
- Thara Cardigan
- Dealla Cardigan
- Shiloh Sweater
- Katrina Pullover
- Liana Cardigan
- Jocasta Pullover
- Edythe Pullover
- Ripple Edge Cardigan
- Kaleidoscope Pullover
- Sunsine & Rain Henley
- Begonia Pullover
- Climbing Rose Henley
- Irisa Cardigan
- Makalu
- Sinai
- Sand Dollar Cardigan
- Nopales
- Lava Rock Cardigan
- Sharee Cardigan
- Annalise Pullover
- Starbrook Pullover
- Rosemary Cardigan
- Alison Pullover
- Edelweiss Cardigan
- Minnette Pullover
- Erte Cardigan
- Nocturnal Pullover
- Morrison Cardigan
- Wessex Cardigan
- Valhalla
- Leftovers for dinner
- Tees & Tanks >
- Vests & Shrugs >
- Shawls >
- Scarves & Cowls >
- Gloves >
- Skirts >
- Jewelry & Other Accessories >
- Stash-busting
- Tutorials
- eBooks
- About
- Contact


 RSS Feed
