
2013 is coming to a close, and what a productive year it was for me! Lots of patterns published this year, both self-published and in magazines. I already have a dozen lined up for 2014 and more to come! Whew! Here is a photo recap of what came off my needles in 2013:
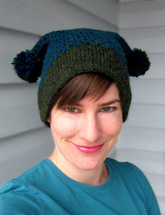
Honeycomb Hive Hat
| 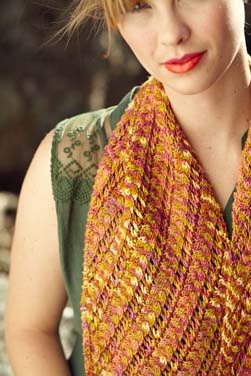
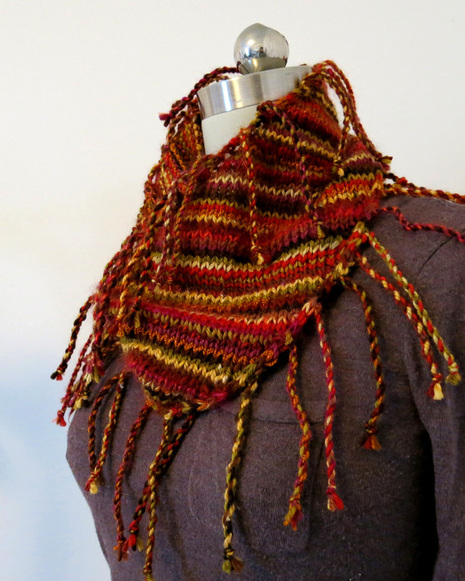
Lilka Scarf
| 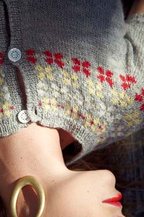
Edelweiss Cardigan
| 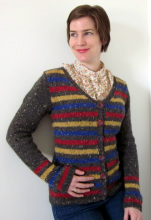
Wessex Cardigan
|
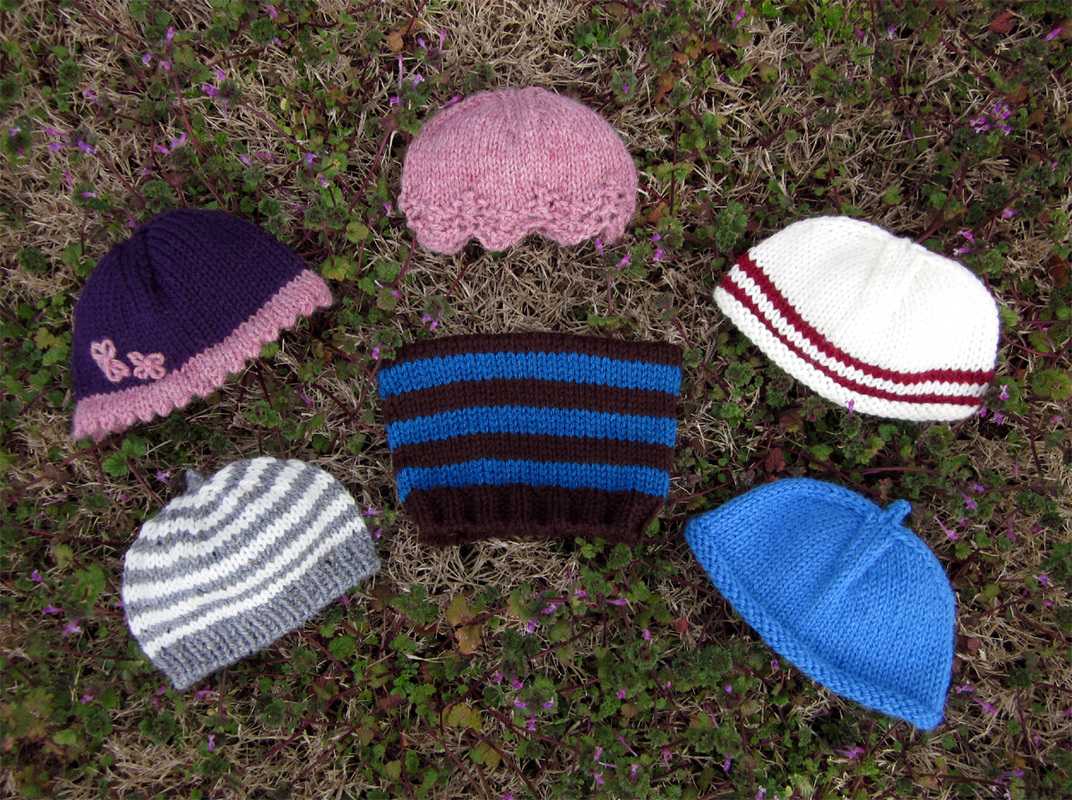
Design Your Own Hat
| 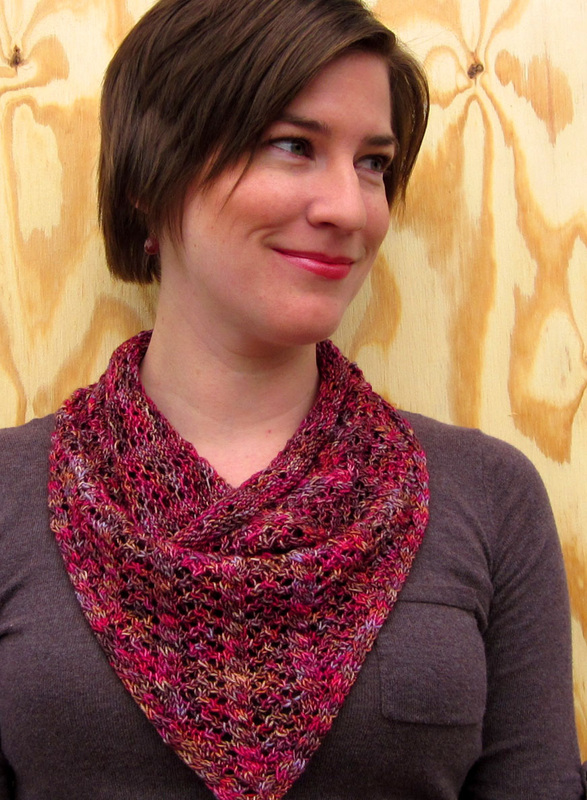
Rosewood Cowl
| 
Adeline Camisole
| 
Lindell Tee
|
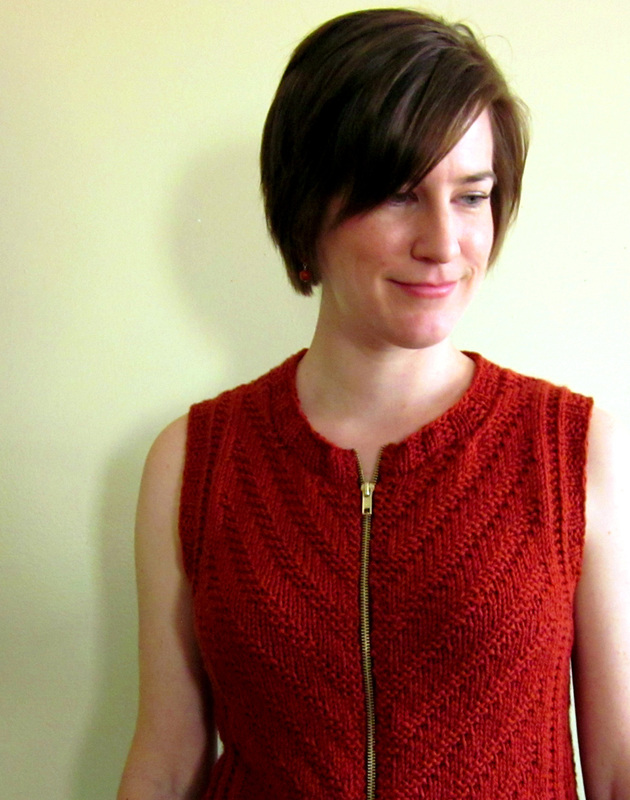
Lancero Vest
| 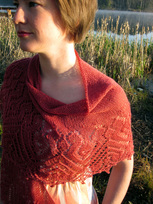
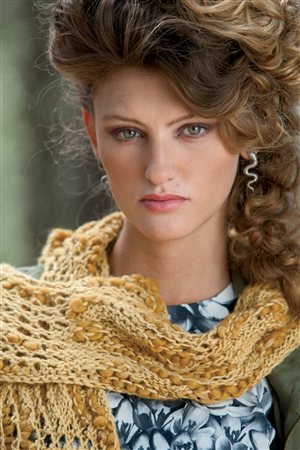
Rosana Shawl
| 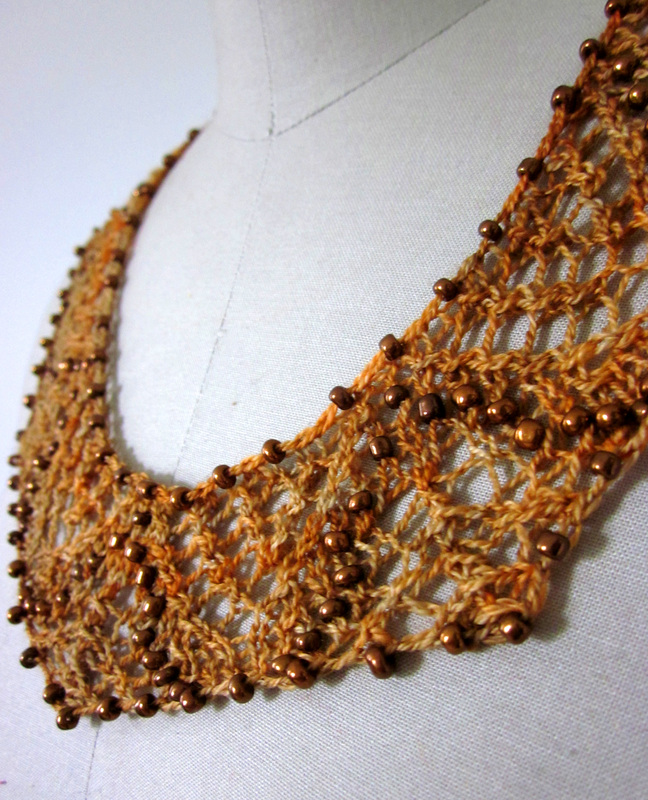
Saqqara Necklace
| 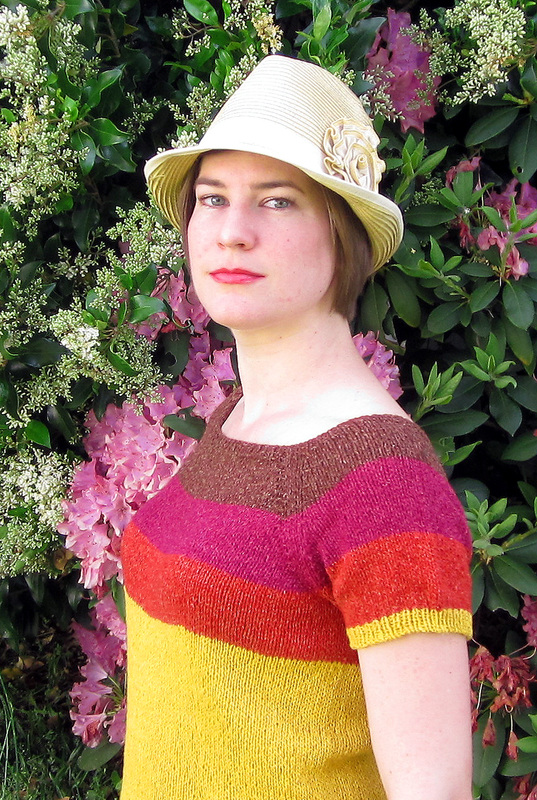
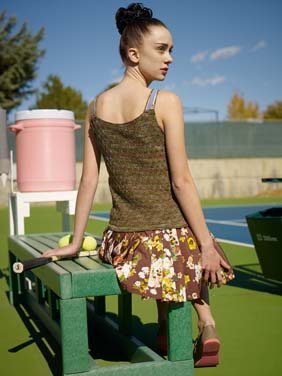
Sunburst Tee
|
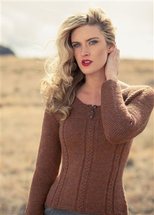
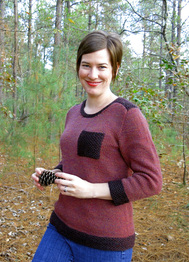
Alison Pullover
| 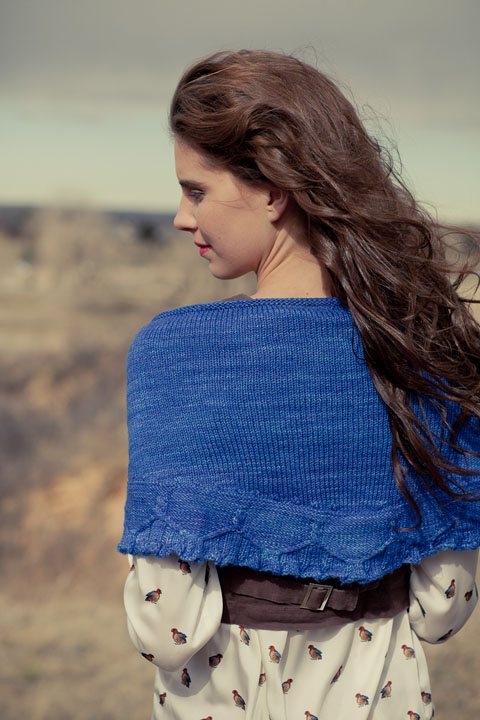
Emmylou Shawl
| 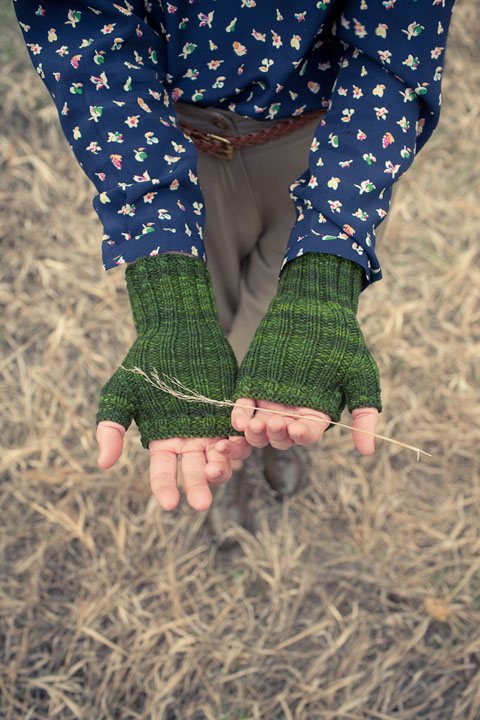
June Mitts
| 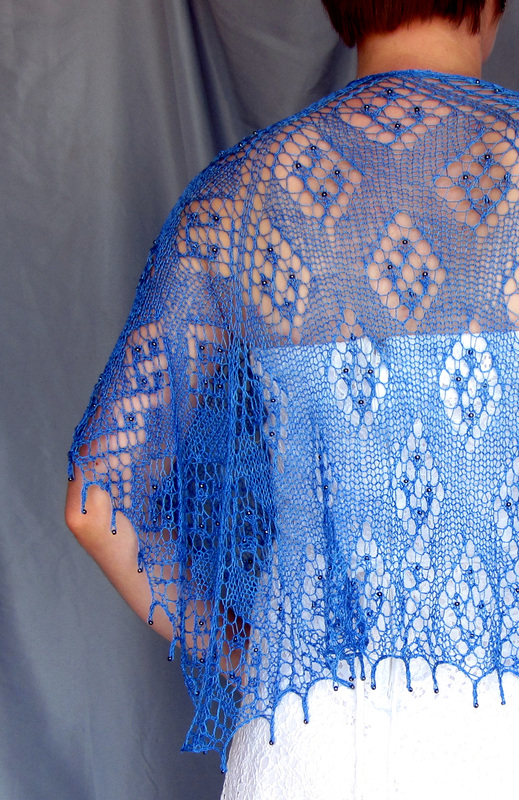
Ciara Shawl
|
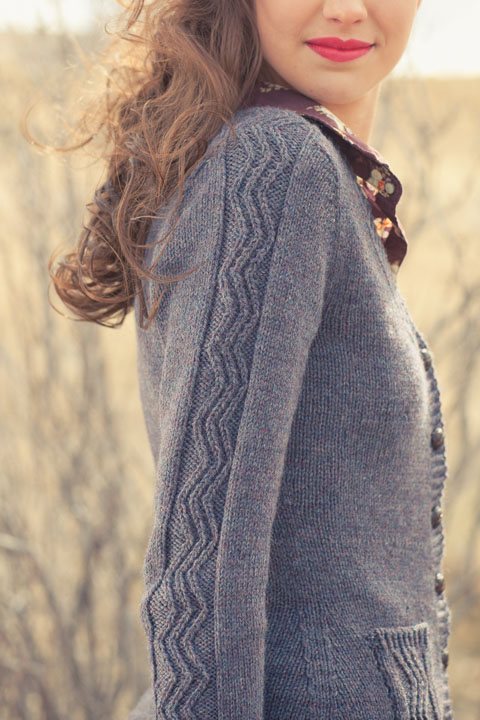
Rosemary Cardigan
| 
Hoptree Scarf
| 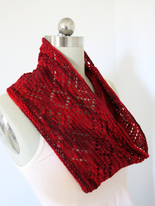
Jayda Cowl
| 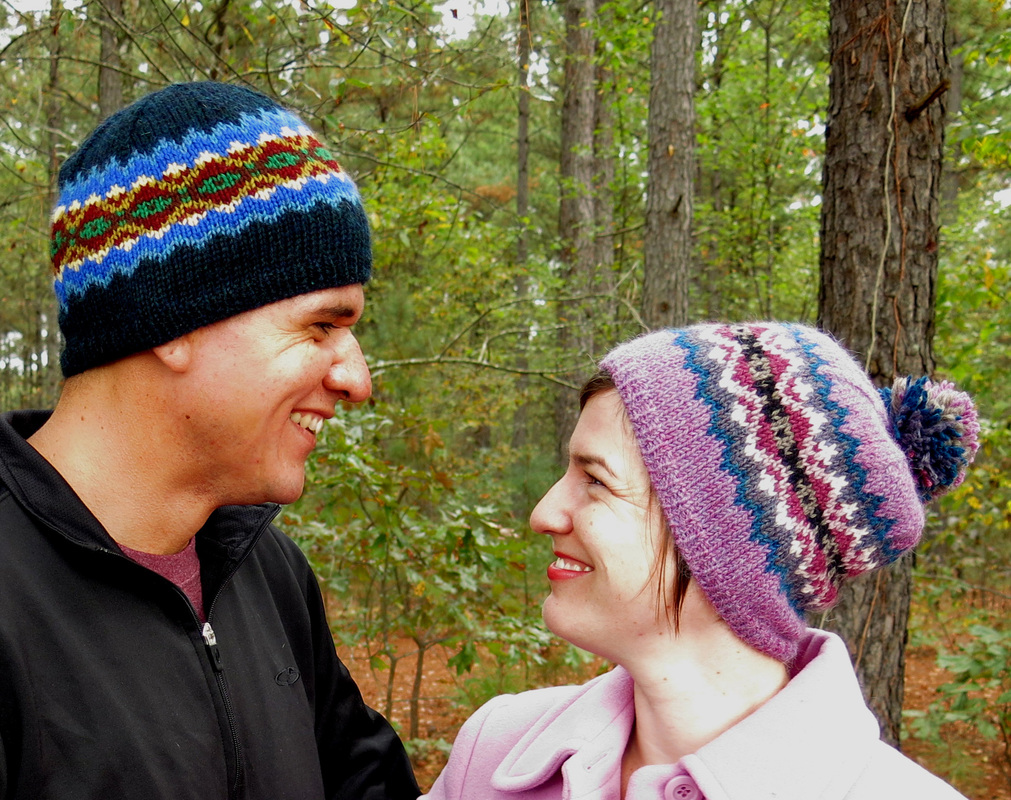
Winterset Hat
|
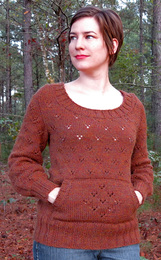
Starbrook Pullover
| 
Annalise Pullover
| 
Raissa Cowl
|


 RSS Feed
