Twisted Stitches Tutorial: k1tbl and p1tbl
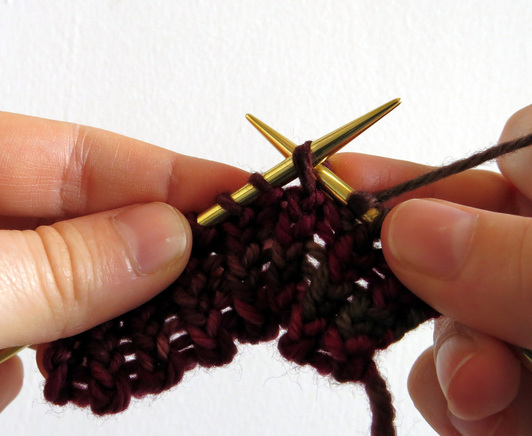
Twisted knit stitch, also known as knitting through the back loop. This is usually abbreviated 'k1tbl'. Normally we would insert the needle through the front part of the stitch, but to make a twisted knit stitch we insert the needle through the back part of the stitch. Wrap the yarn around and complete the stitch as usual.
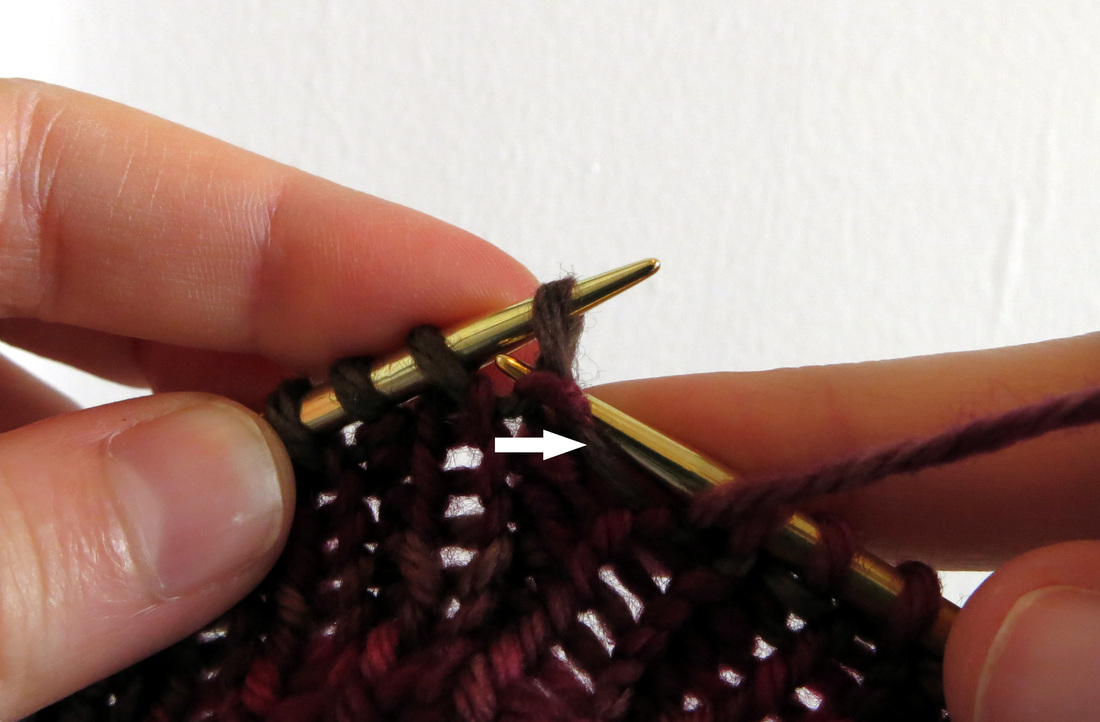
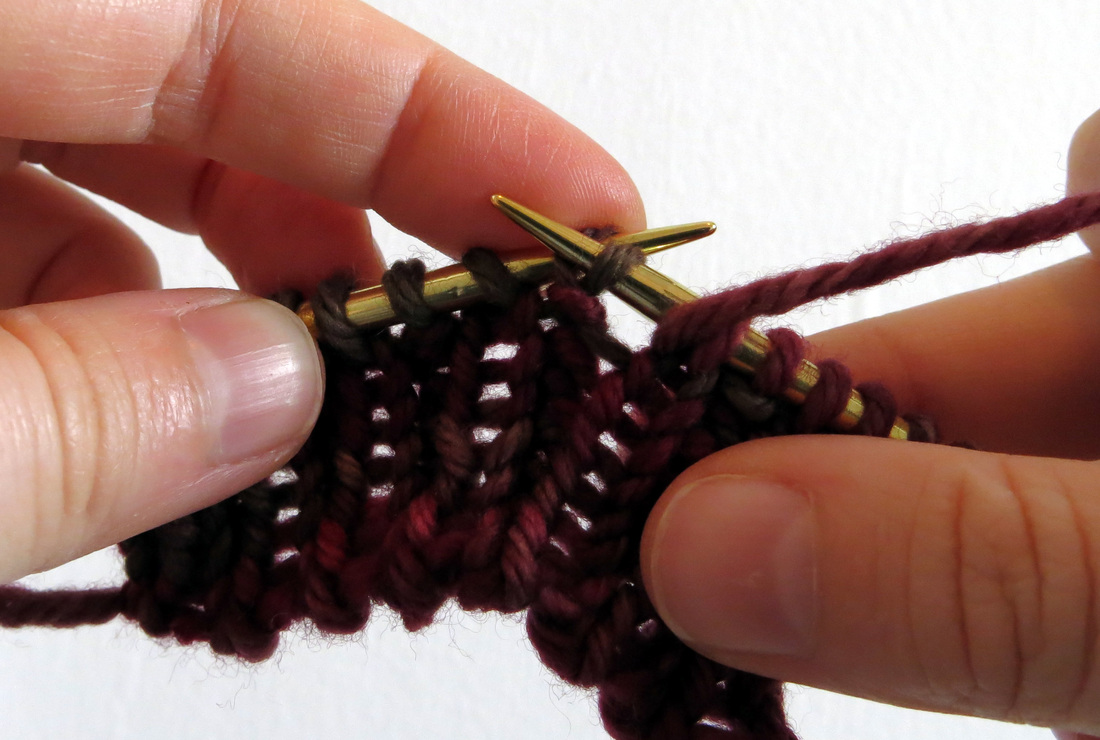
Twisted purl stitch, usually abbreviated 'p1tbl'. Purling through the back loop is less common than knitting through the back loop, and can be a bit mysterious to figure out. I promise it is easy! The trick is how to maneuver the needle. With the right needle, insert it through the stitch, from left to right, from the back of the stitch to the front. Pushing the needle to the front of the works twists the stitch. See how it is twisted? Now wrap the yarn around and complete the stitch as usual. Not too hard, right?
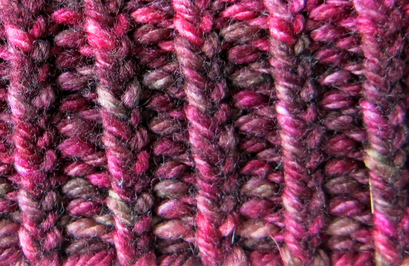
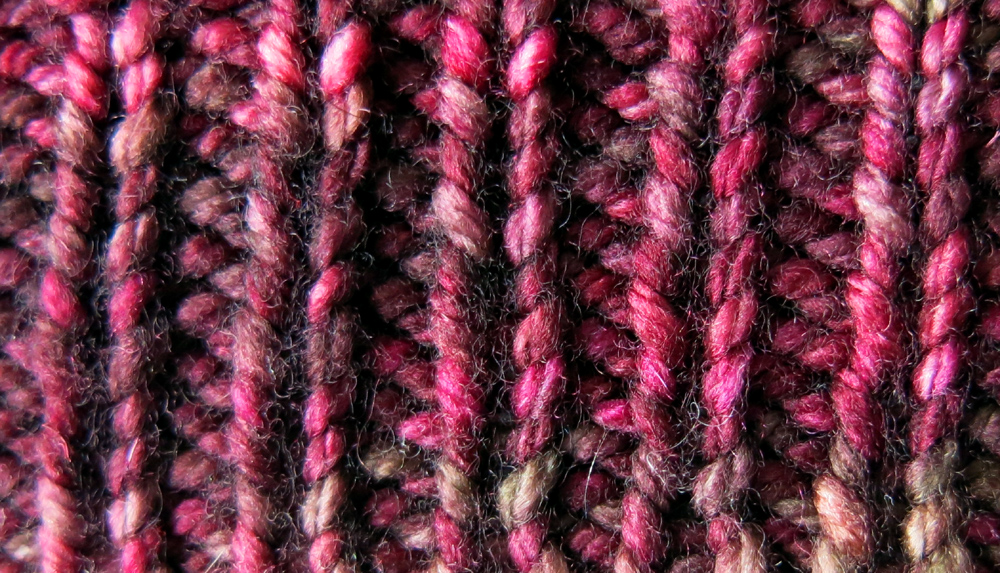
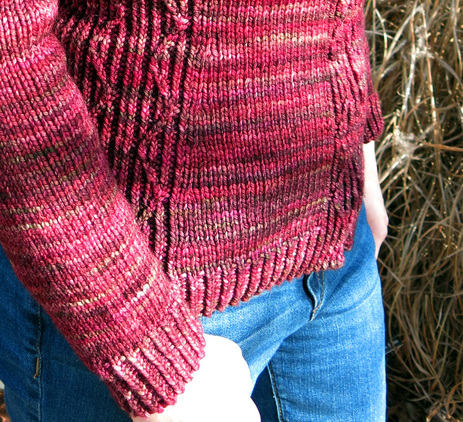
Twisted Rib is definitely firmer than plain rib, but is still a good option for cuffs, neck bands and hat brims. If you are making a sweater with a background of Reverse Stockinette stitch, a single column of twisted knit stitches make a nice pretend 'side seam'. Try some twisted rib and compare it with plain rib. Do you like the stitch definition better?
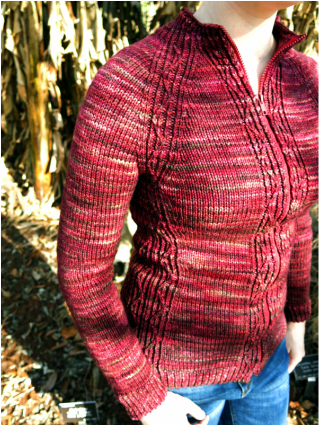
Once you have mastered knitting and purling through the back loop, you are ready for a new challenge: working twisted stitches in a cable pattern. My upcoming design uses twisted stitches to create a zig-zag cable on a background of twisted rib.
Once you have mastered knitting and purling through the back loop, you are ready for a new challenge: working twisted stitches in a cable pattern. My upcoming design uses twisted stitches to create a zig-zag cable on a background of twisted rib.

