My initial search only resulted in patterns for highly structured underwire bras. As fantastic as it would be to make a custom fit bra, I am not really willing to put in the time and effort for that much construction. I wanted something simple. Eventually I came across Ohh Lulu's lingerie patterns, both on Etsy and Craftsy. Very cute, vintage-style bras and underwear. Even though there weren't any projects or reviews, I decided to try out the Anna Cross Over Bra.
The pattern: The sizing for this bra threw me off a bit. According to the pattern I would need an x-small. I haven't been an x-small in anything since I was in 8th grade, so I didn't trust the pattern and cut a size small instead. Big mistake. While my bra is wearable, the cups are really big.
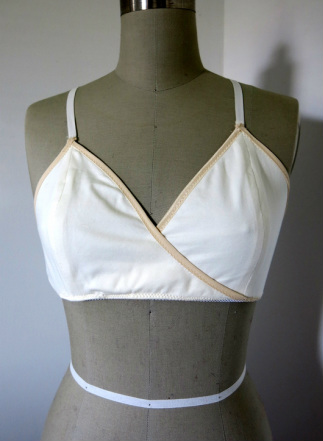
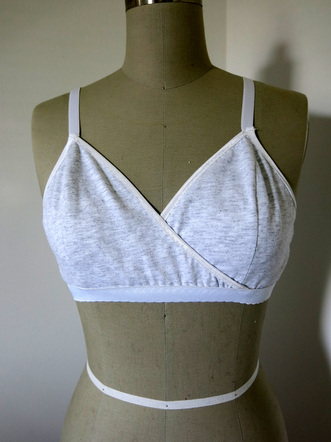
For my second attempt I used an x-small and the fit is much better. Near the end of the instructions, when sewing on the straps, it says to use the star symbol on the back pattern piece to align the edge of the strap. I looked twice and couldn't find any star symbol anywhere, so I had to make it up. Before I made my second attempt, I was able to email the designer and she sent me a very polite and prompt reply with updated instructions on the back strap placement. Bonus points for awesome customer service! Ohh Lulu is getting more business from me in the future.
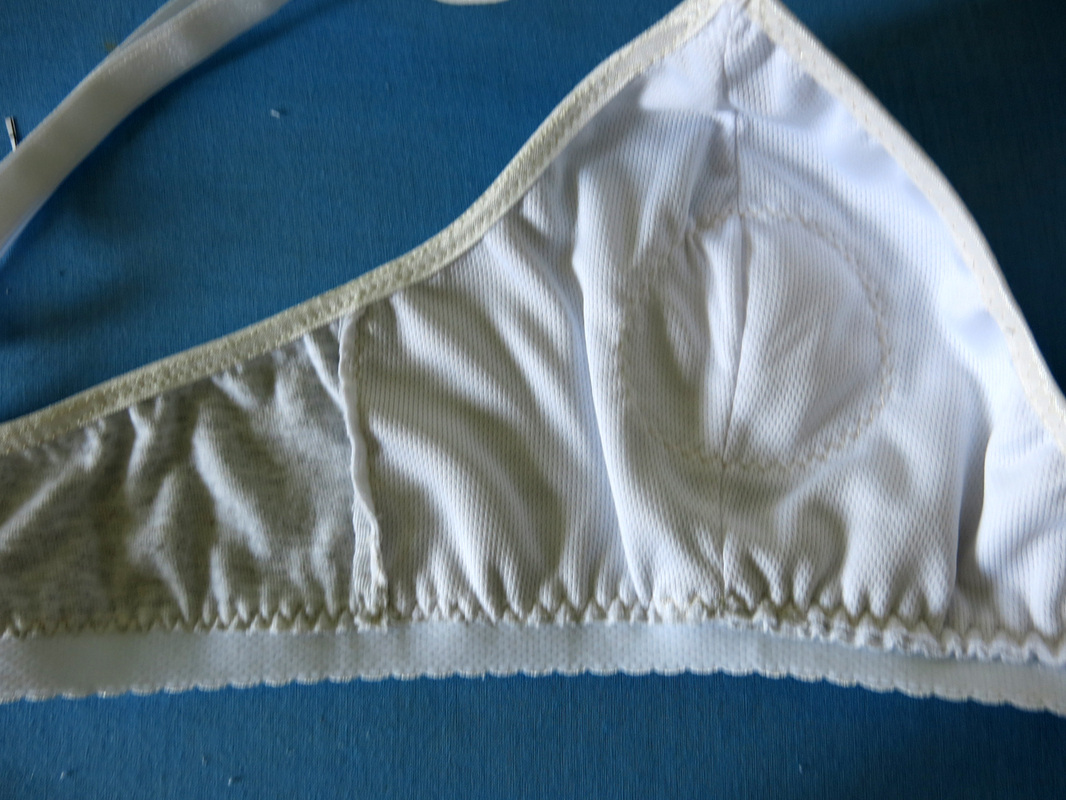
The fabric: For the first attempt I used a cotton/lycra jersey, purchased from Girl Charlee, both as the self and lining. This sounded like a good idea, but as I was adding the band elastic, I realize it was way too bulky. As the name of this style implies, it crosses over in the front, so for several inches you are dealing with 4 layers of fabric. When I turned back the elastic to the wrong side it was very bulky and my zig-zag stitched elastic doesn't lay flat. So keep in mind, if you're going to use a lining, keep it thin. For the second attempt, I used plain cotton jersey leftover from my Moneta dress and some dri-wicking fabric I found as a remnant at Joann.
The elastics: Where to find lingerie elastic??? While Hancock Fabrics has started to carry lingerie elastics, they are quite expensive--$2-3 for one yard. After my first attempt proved that my picot elastic wasn't sturdy enough for a bottom band, I did cave in and buy 3/4" brushed back elastic. I used it for my second attempt and it is infinitely better than the picot elastic. I will save the picot elastic for a style of bra that only uses one or two layers of fabric.
I knew that buying elastic in bulk would be far cheaper. I ended up finding the three different elastics I needed at Sew Sassy Fabrics. There was the foldover elastic, picot edge band elastic and strap elastic. The difficult part was trying to get them all to match in color. Obviously my elastics didn't end up matching in the first attempt. For the second attempt I just used white elastics and straps.
My changes: For the first attempt I didn't use an adjustable strap, just cut two lengths of strap elastic, sewed them to the back, then tried on the bra and adjusted the length to my liking and pinned to the front. But the elastic I used proved to not be sturdy enough and the cups keep sagging. I also didn't add the hook and eye closure; the bra was big enough for me to just sew a center back seam and slip it on over my head.
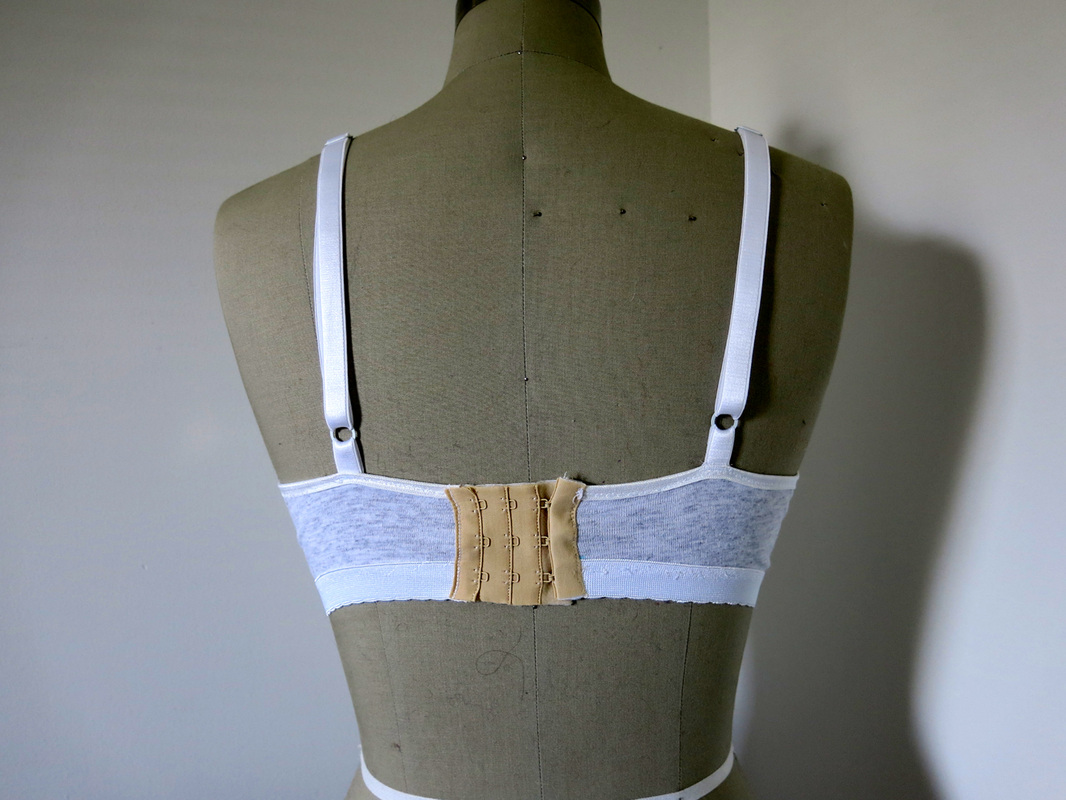
For the second attempt I followed the directions and used the adjustable straps and added the hook and eye closure. On this one I also added some cotton batting to the lining to provide some 'coverage' if you get my drift. I cut out circles about 3" in diameter. Once the front cups were sewn, I tried one on to figure out the placement and used a large zig-zag stitch to sew the batting to the wrong side of the lining.
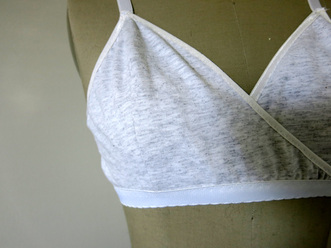
So, here are my final conclusions: Cute and comfortable design. If you choose the right size and the right elastics it will fit well. Choose your fabrics carefully so that you don't end up with too much bulk. For the elastics, be sure the bottom band elastic is sturdy enough to handle several layers of fabric. Here are a few more photos of my second attempt...



 RSS Feed
